
Home / Blog
Motorcycle Tips & Advice
Practical guides, maintenance tips and safety advice for riders across Bagshot, Bracknell, Camberley and beyond.
Maintenance · 5 min read
How Often Should You Service a Motorcycle?
How Often Should You Service a Motorcycle?
Regular servicing is one of the most important things you can do to keep your motorcycle running safely and reliably. But how often is often enough? The answer depends on the type of bike you ride, how hard you push it, and the conditions you ride in. Here’s a breakdown of recommended service intervals to help you stay on top of your maintenance.
The pre-ride check: every single time
Before you twist the throttle, take two minutes to walk around the bike. Check your tire pressure and look for any cuts or bulges in the sidewalls. Squeeze both brake levers and make sure they feel firm. Glance at your fuel level, check that your lights and horn are working, and make sure the chain isn’t too loose or running dry. It sounds basic, but this quick ritual catches the issues that cause accidents.
Short-interval service: every 500–1,000 km
This cadence applies mainly to chain-driven bikes. The chain is one of the hardest-working components on your motorcycle, and it needs regular attention to avoid premature wear on the sprockets.
- Chain tension and lubrication — Clean the chain with a proper chain cleaner, let it dry, and apply a fresh coat of chain lube. A chain that’s too tight puts stress on the gearbox output shaft; too loose and it can slap around and skip.
- Tire pressure — Tires lose air naturally over time. Under-inflated tires affect handling, overheat faster, and wear unevenly.
- Fluid levels — A quick visual check of brake fluid, coolant (if liquid-cooled), and engine oil goes a long way.
Minor service: every 5,000–6,000 km or once a year
This is your first scheduled workshop visit — or a solid DIY session if you’re mechanically inclined.
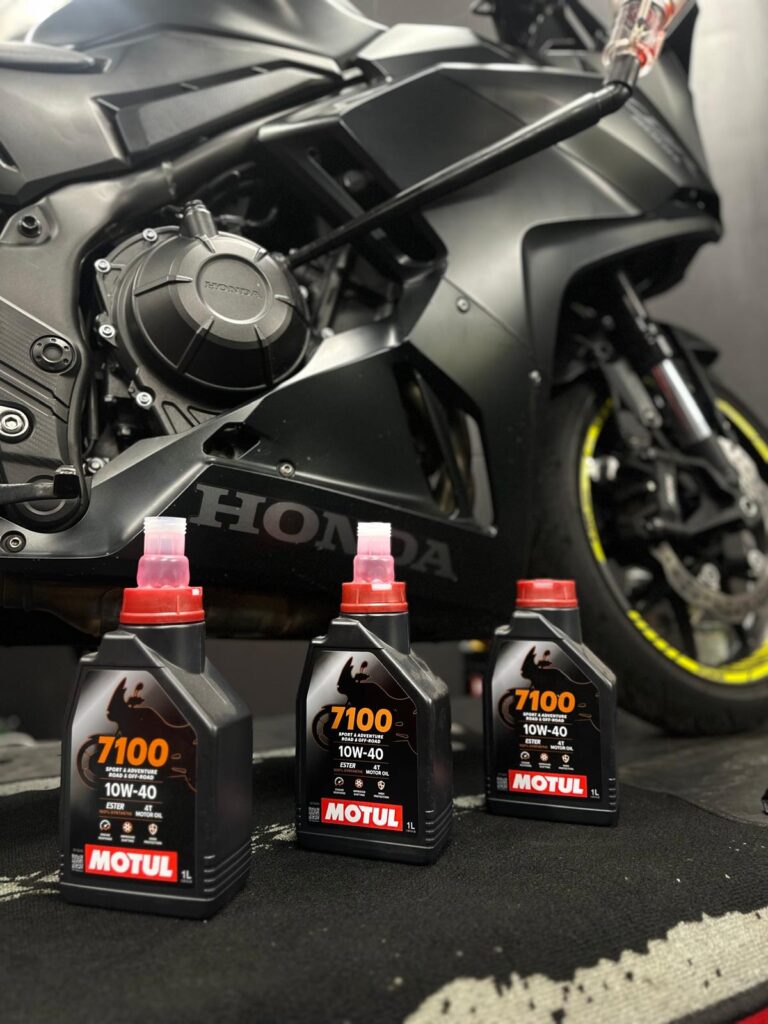
Engine oil and filter change Oil breaks down over time and kilometers. Conventional mineral oil typically needs changing every 3,000–5,000 km; synthetic oils can go 6,000–8,000 km depending on the manufacturer’s spec. Always replace the oil filter at the same time. Using a quality oil like Motul 7100 10W-40 — a full-synthetic ester-based oil — can help extend engine life and is especially well-suited to high-revving four-stroke engines.
Air filter inspection A clogged air filter starves the engine and hurts fuel economy. Foam filters can be cleaned and re-oiled; paper filters need replacement when dirty.
Spark plugs Standard plugs last around 8,000–12,000 km; iridium or platinum plugs can go longer. Inspect them for fouling, erosion, or deposits. If the electrode is worn or the gap is off, the engine will run rough and lose power.
Brake pads Check the wear indicators. Most pads have a groove or line — once the friction material reaches it, replace them. Never ride on metal-on-metal brakes.
Brake fluid Brake fluid is hygroscopic — it absorbs moisture from the air over time, which lowers its boiling point and makes brakes feel spongy. Change it every 1–2 years regardless of mileage.
Major service: every 12,000–24,000 km
This is the deeper, more involved service interval. The exact mileage varies by make and model — always check your owner’s manual.
Valve clearance check Over time, the valves in your engine can tighten or loosen, affecting performance and potentially causing engine damage if left unchecked. This is one of the most commonly skipped services — and one of the most important ones on high-mileage bikes.
Coolant replacement (liquid-cooled engines) Coolant degrades and loses its anti-corrosion properties. Fresh coolant every 2 years or per the manufacturer’s interval keeps the radiator and water pump healthy.
Drive belt or chain replacement Check your belt or chain for stretch, wear, and cracks. A snapped chain at speed is dangerous; a worn belt can slip.
Fork oil and seals Front forks lose damping ability as the oil ages. If you notice oil weeping from the seals or the front end feels vague, it’s time for a rebuild.
Fuel injectors or carb cleaning Varnish and deposits build up inside injectors and carb jets over time, causing rough idle, hesitation, and poor fuel economy. A cleaning kit or professional service restores crisp throttle response.
Does riding style change the intervals?
Absolutely. If you’re commuting daily through city traffic, the engine runs harder at lower speeds, idles more, and gets dirtier faster — reduce your oil change interval by 20–30%. If you track your bike on weekends, the engine sees extreme temperatures and loads; consult your tuner for a competition-specific schedule. Adventure tourers covering long distances in dusty conditions should check air filters and chain much more frequently.
New vs. used: the break-in service
If you’ve just bought a new bike, the first service at around 500–1,000 km is critical. Metal components are still wearing into each other during break-in, and the first oil change will be full of microscopic metallic particles. Skip it at your peril.
For used bikes, start fresh: change the oil and filter, check all fluid levels, inspect brake pads and tires, and pull the service history. If there isn’t one, treat it as a major service regardless of the odometer.
The bottom line
There’s no single answer that fits every bike and every rider — but a consistent habit is worth more than a perfect schedule followed sporadically. Set a reminder in your phone, keep a maintenance log, and when in doubt, check your owner’s manual. Your motorcycle will reward you with better performance, lower repair bills, and a longer life on the road.
Safety
Signs Your Motorcycle Brakes Need Replacing
Don’t ignore the warning signs — your brakes are the most critical safety system on your bike. Here’s what to look and listen for.
1. Squealing or grinding noises
A high-pitched squeal when you apply the brakes is usually the wear indicator doing its job — it’s a small metal tab built into the pad that contacts the disc when the friction material gets too thin. That sound is a warning. A grinding or scraping noise is worse: it means the pad is already gone and metal is cutting into your disc. At that point you’re damaging a much more expensive component and your stopping power is seriously compromised.
2. The brake lever or pedal feels soft or spongy
A firm, progressive feel is what healthy brakes feel like. If the lever pulls closer to the bar than usual, or the pedal sinks further before the brakes bite, there’s likely air in the hydraulic line or the brake fluid is old and saturated with moisture. Bleed the system and replace the fluid. If the problem returns quickly, inspect the master cylinder and caliper seals.
3. Longer stopping distances
If your bike takes noticeably more distance to stop than it used to — especially at the same speed on the same road — something is wrong. Worn pads, glazed discs, degraded fluid, or a combination of all three can reduce braking efficiency significantly. Don’t second-guess this feeling. Trust it.
4. Vibration through the lever or bars under braking
A pulsing sensation when you squeeze the brake is almost always a warped disc. Rotors warp from heat — usually from aggressive riding without letting brakes cool, or from cooling too quickly (like riding through water right after heavy use). A warped disc won’t bite evenly, which creates that rhythmic pulse. Run a dial gauge across the rotor or take it to a shop; a rotor that’s out of spec needs to be replaced, not ignored.
5. Visible wear on the brake pads
Pull back the rubber dust boot on the caliper or look through the inspection window if your bike has one. Most pads have a wear groove or line — when the friction material is level with that line, it’s time to replace them. A good rule: if there’s less than 2mm of pad remaining, don’t wait for the next service. Do it now.
6. Brake fluid that’s dark or murky
Fresh brake fluid is clear to slightly yellow. Dark brown or murky fluid has absorbed too much moisture and needs changing. Old fluid lowers the boiling point of the system, which leads to brake fade under hard use — exactly when you need them most. Check the reservoir under the master cylinder cap. Change the fluid every 1–2 years as standard practice.
7. Scored or grooved brake discs
Run your fingernail across the face of the rotor. A smooth surface is what you want. Deep grooves, scoring, or a lip around the outer edge of the disc means uneven wear — often caused by riding on worn-out pads too long. Discs have a minimum thickness spec stamped on them; if they’re below it, replace them. Thin discs flex under braking and overheat faster.
8. The bike pulls to one side under braking
If the bike drifts left or right when you apply the front brake, one caliper may be sticking or one pad may be more worn than the other. Sticking calipers can also cause constant light contact with the disc, generating heat and wearing pads unevenly. Clean and inspect the caliper pistons and slides. If a piston won’t retract freely, the caliper needs rebuilding or replacing.
When to act
If you notice any one of these signs, don’t schedule it for “next month.” Brakes are binary — they either work when you need them or they don’t. Parts are cheap. Accidents aren’t. When in doubt, have a qualified mechanic inspect the system before your next ride.
MOT
How to Prepare Your Motorcycle for MOT
An MOT failure doesn’t always mean something is seriously wrong — often it’s a blown bulb, a slack chain, or a tyre that’s a millimetre under the legal limit. A bit of prep the week before your test can save you the cost of a retest and the hassle of going back. Here’s what to check.
Lights and electrics
This is one of the most common reasons for failure, and it’s the easiest to fix at home. Go through every light on the bike: headlight (main beam and dipped), rear light, brake light triggered by both the lever and the pedal, and indicators front and rear. Check the horn works. Replace any blown bulbs before you book in — testers won’t do it for you, and you’ll pay for a retest.
Also check that the headlight aim is roughly correct. A beam pointing too high or too low is a fail.
Brakes
The tester will check that both brakes generate sufficient stopping force independently. Squeeze the front lever and press the rear pedal — both should feel firm and progressive with no sponginess. Check your pad wear visually; if there’s less than 2mm of friction material left, replace them before the test. Inspect the brake fluid reservoir — dark or murky fluid won’t fail you directly, but it’s worth changing anyway.
Tyres
The legal minimum tread depth for motorcycles in the UK is 1mm across three-quarters of the tread width. In practice, anything under 2mm should be replaced — it’s not worth the risk or the retest fee. Check both tyres for cuts, bulges, or cracking in the sidewalls. Make sure the tyre size matches on both ends and that both are correctly inflated.
Chain and sprockets
A chain with too much slack, visible kinks, stiff links, or excessive rust is a fail. Check the tension — most bikes have a spec of 20–30mm of free play at the midpoint — and lubricate it properly. Inspect the sprocket teeth: hooked or shark-fin-shaped teeth mean the sprocket is worn and needs replacing alongside the chain.
Steering and forks
Sit on the bike and push the bars from lock to lock. Steering should move smoothly with no notchiness, tightness, or rough spots, which would indicate worn head bearings. Check the front forks for oil seeping past the seals — weeping forks are a fail. Grab the front wheel and try to push it side to side; any play in the wheel bearings will show up here.
Wheels and wheel bearings
Lift each wheel off the ground and spin it. It should rotate freely with no wobble and no rough grinding feeling. Grab the wheel at the 3 and 9 o’clock positions and try to rock it — any side-to-side movement means the bearings are worn. Check the wheel rims for cracks or significant damage.
Exhaust
The tester will check for excessive noise and for leaks. Listen for blowing joints or holes — a popping or hissing sound from the exhaust under load is a giveaway. If your bike has been modified with an aftermarket system, make sure it has a valid BSAU mark or the tester may refuse it.
Frame and general condition
Cracks or significant corrosion on the frame, swingarm, or steering head are an automatic fail. The tester will also check for fuel leaks, loose or missing fasteners, and any sharp edges that could injure the rider. Make sure your mirrors are both present, properly positioned, and give an adequate rear view.
Speedometer
It needs to work and read accurately. If the speedo needle doesn’t move or the display is dead, fix it before your appointment.
A few practical tips
Book your MOT for the morning so the tester is fresh and you have the rest of the day to sort anything that comes up. Clean the bike before you go — a dirty machine is harder to inspect and makes a poor first impression. Bring your V5 logbook if the tester asks to verify frame and engine numbers.
Most bikes that are regularly serviced and ridden will sail through. The ones that fail are usually the ones that have been sitting unused, neglected over winter, or had deferred maintenance stacking up. Run through this checklist a week before your test date and you should have no surprises on the day.
Have a motorcycle question? Ask our team directly.

Independent motorcycle repair workshop based in Bagshot, Surrey. Professional servicing, diagnostics and repairs for all motorcycles and scooters.
- 07752 322199
- @powerscooteruk
- Unit 3, Hall Grove Farm, Bagshot - GU19 5HP